
Long Road - Setup Your Dev VM (Part 3)
Warning: This post is outdated. It is here for reference purposes only.
This post is the third post that gives a quick crash course to setting up a development Linux virtual machine. Please read the first and second parts if you haven't already if you like. If you're just looking for what I install on the machine once it's up and running, then this is the place for you! If you don't want to go through a whole bunch of command line commands, this probably is n't the post for you.
The List
This is an overview of what I make sure is installed on all of my development machines. There are some other minor dependencies I require being installed, but I won't go over those in great detail.
- OpenSSH
- Apache2
- PHP5.4
- MySQL 5.5
- Git
- Phing
- PHPUnit
- XDebug
- Jenkins
- PHPMyAdmin
- Zip
- Pandoc
Install, Install, Install
I'm logged into my user's account asdfjkl on my DemoDebian VM via the terminal. As part of the initial install I had it install OpenSSH and Apache for me so those are taken care of. First up: MySQL.
sudo apt-get install mysql-server mysql-client php5-mysql
During this installation you will need to setup a password for the root MySQL user. IMPORTANT: This "root" user IS DIFFERENT from the Linux "root" user.
Next, PHP plus a little, followed by a version check for sanity's sake:
sudo apt-get install php5 php-pear libssh2-1-dev libssh2-php
php -v
Install Phing for builds:
sudo pear channel-discover pear.phing.info
sudo pear install phing/phing
phing -v
Git:
sudo apt-get install git
git --version
Before moving on from Git I want to setup the my configuration real quick for my user.
git config --global user.name "Ryan Lambert"
git config --global user.email RustProofLabs@gmail.com
Then to confirm the git settings:
git config --list
PHPMyAdmin
sudo apt-get install phpmyadmin
During this installation it will prompt you to configure your web server for phpMyAdmin. Just hit space to select apache2 and hit Enter. At the next prompt choose "Yes" and then enter the MySQL root password (NOT THE LINUX ROOT PASSWORD). The next password I leave blank, as it will generate one randomly and I don't care what it is.
Jenkins:
wget -q -O - http://pkg.jenkins-ci.org/debian/jenkins-ci.org.key | sudo apt-key add -
sudo sh -c 'echo deb http://pkg.jenkins-ci.org/debian binary/ > /etc/apt/sources.list.d/jenkins.list'
sudo apt-get update
sudo apt-get install jenkins
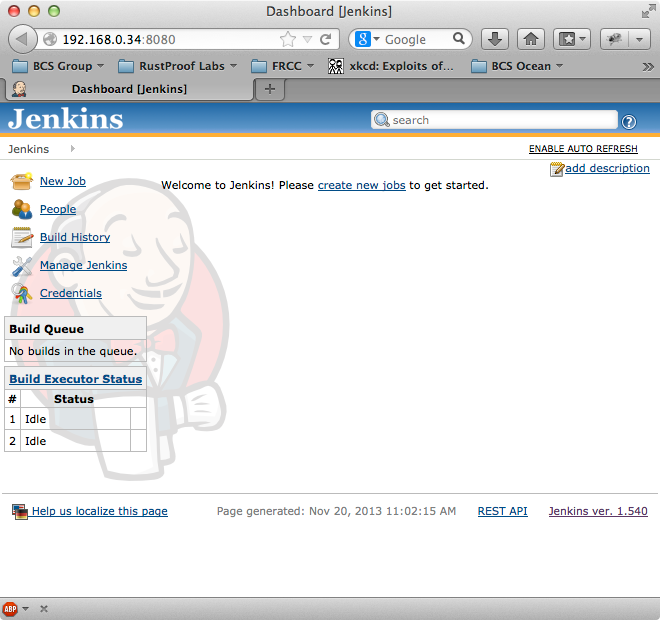
After installing Jenkins I go to the server's IP:port which is the IP of your virtual machine followed by ":8080". My DemoDebian Jenkins server is live! Keep in mind, the default settings of Jenkins are very unsecure. Just like the rest of this walk through, this is suitable for a development environment only!
PHPUnit and XDebug
I'm using PEAR to install PHPUnit with these commands:
sudo pear config-set auto_discover 1
sudo pear install pear.phpunit.de/PHPUnit
Installing XDebug requires just a bit of manual work. First install:
sudo pecl install xdebug
You might get an error about missing phpize, just run this command if you do:
apt-get install php5-dev
After installing XDebug you should see a message similar to:

Now you need to do two things: Find the correct php.ini file, and find the full path to "xdebug.so". Unlike the message suggests, you can't just get away with putting "xdebug.so" in php.ini, it needs to be the full path. To find the proper php.ini file use this command:
php --ini
You want to find the "Loaded Configuration File" which is typically the second line of output. This is the file we will need to edit, but not quite yet. Next we need to find the xdebug.so, this command should give you the full path.
find / -name 'xdebug.so' 2> /dev/null
Output:
/usr/lib/php5/20100525/xdebug.so
Copy the path it gave you and now it's time to edit your php.ini file.
sudo nano /etc/php5/cli/php.ini
Go to the end of the file and add these two lines
; Added for XDebug
zend_extension="/usr/lib/php5/20100525/xdebug.so"
Save and close, then restart apache.
sudo service apache2 restart
Install Zip:
sudo apt-get install zip
Install Pandoc:
sudo apt-get install pandoc
If you want to be able to output PDFs using pandoc, they recommend using this (I think this takes longer to install than any other single package):
sudo apt-get install texlive
I think that about covers all the packages I need to install for my systems. Nothing has really been configured at this point, I will cover those steps in future posts if there's a need to. Let me know if you're curious about anything specific in the comments!
 Mastodon