
Jenkins CI on Debian: Install and Setup
Warning: This post is outdated. It is here for reference purposes only.
While there are many options to consider when picking your continuous integration server, at some point you'll have to make a choice and start using one. I started using Jenkins CI about two years ago and I have never looked back! It's amazing how much can be streamlined by using the right tool for the job. In today's post I will walk you through installing and configuring Jenkins on a development virtual machine running Debian. All commands given are assumed to be for a regular user that has sudo privileges.
Installing Jenkins CI
There are four (4) commands needed to install Jenkins.
wget -q -O - https://jenkins-ci.org/debian/jenkins-ci.org.key | sudo apt-key add -
sudo sh -c 'echo deb http://pkg.jenkins-ci.org/debian binary/ > /etc/apt/sources.list.d/jenkins.list'
sudo apt-get update
sudo apt-get install jenkins
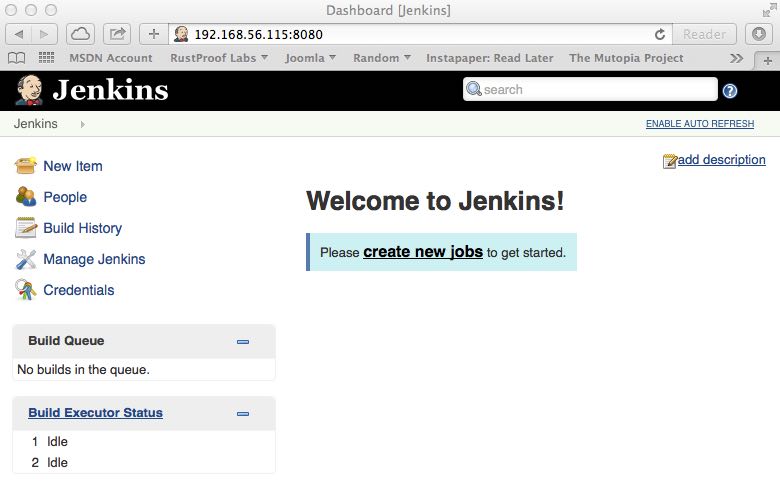
The first three commands run very quickly, the fourth will take a bit of time for it to install. Once the installation has completed you will have a Jenkins instance running with port 8080 available. My server has an IP address available on my host only network of 192.168.56.115. To access Jenkins I will go to 192.168.56.115:8080 and the first thing to notice is there is absolutely zero security in place to start with. It just lets anyone in! (In case you were curious, that isn't a good thing...)
Securing Jenkins
It's good practice to secure Jenkins even if it's only accessible from your local machine. My setup gives Jenkins pretty much full access to my development server via sudo to make my life easier in other areas. Doing this on an unsecured instance of Jenkins allows anyone who can access the server full sudo access over your server. Please understand the implications of what this means... and secure the installation!!
With great power comes great responsibility. -- Voltaire
I recommend testing these steps on a non-critical installation first because it is possible to lock yourself out of Jenkins, which I have done only once so far.
Add a User
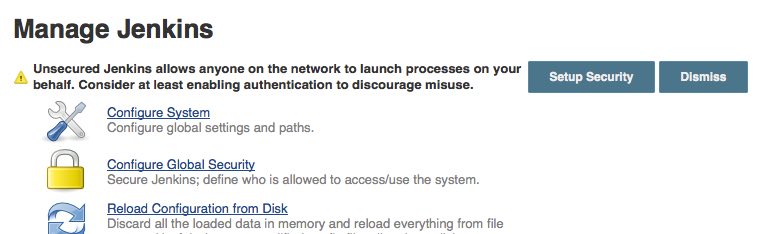
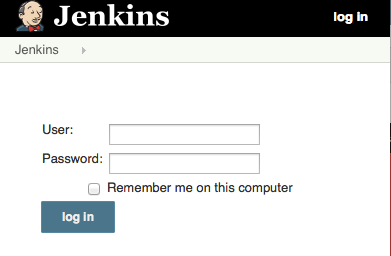
Before setting the actual security settings we need to create a User first. Click "Manage Jenkins" on the left side menu. As you can see in the next screenshot, Jenkins will let you know that it is insecure.
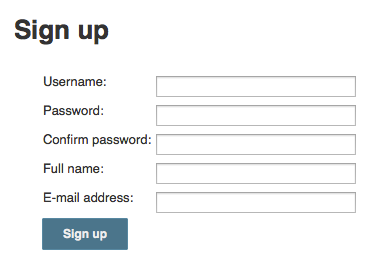
Scroll down the page and click "Manage Users". Then on the left side click "Add User" to get to the Sign Up page.
Security Configuration
With a user in the system it's time to setup the security settings. Go back to "Manage Jenkins" and click on "Configure Global Security". You should see a screen similar to below. Clicking the "Enable Security" checkbox will expand the options.
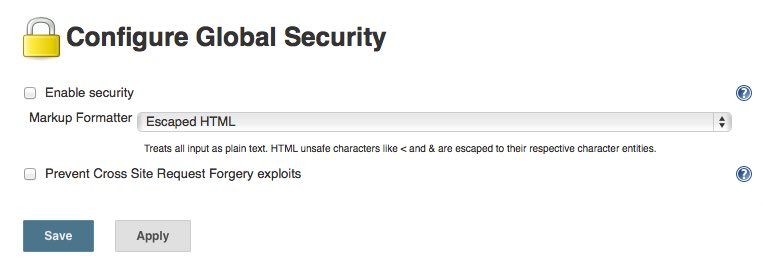
I am going to have Jenkins manage the users and I don't allow users to sign up, instead I will manage them manually. I'm using Matrix-based security because it makes the installation more flexible for the future, but for now you can see that I've only added one user for myself, and I've granted myself all the permissions. There's a button to toggle all checkboxes for a user on the far right of the page that isn't shown in the screenshot. You can also click every single box if you want...
Matrix-based security allows me to easily add new users that have limited
permissions, such as only able to run jobs and nothing else, but that
configuration is beyond the scope of this post. To learn more about security
in Jenkins, check out their official page on it.
Save Security and Test
To test my settings I hit "Save" and in a new browser I open a tab in a different browser so I can preserve my logged in session just in case. Navigating to Jenkins as an anonymous user I can only see a Log In screen and nothing else... success!
Install Plugins
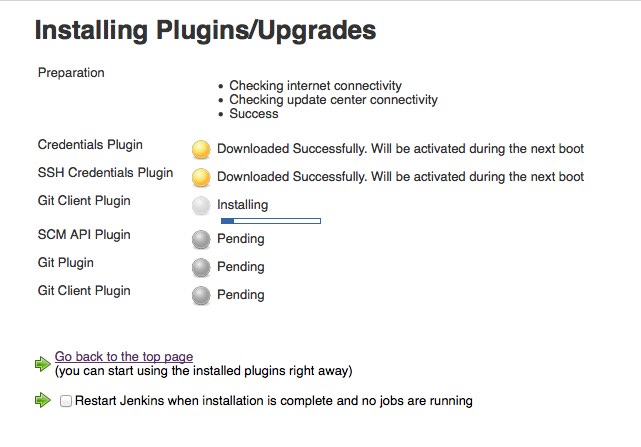
Most of my Jenkins jobs pull the files needed from source control (git) so I need to install two plugins to ensure I can use my git repos. The plugins are "git plugin" and "git client plugin".
In the plugin manager I search for "git" and find the two I need, checking their boxes on the left hand side. The screenshot below shows installing those two plugins along with a few others Jenkins found updates for. You'll want to check the box at the bottom of this screen so Jenkins will restart and activate your plugins once they're installed.
Give Jenkins Power
The last step to configure Jenkins is to give it the power it needs by granting it passwordless sudo abilities. While this means that the Jenkins user will have full access over the server it is installed on, it also means that every sudo command that Jenkins uses will be logged in the auth.log file (/var/log/auth.log in Debian based systems) giving a full audit trail of the commands it runs with elevated privileges.
I create a file named 01_jenkins to /etc/sudoers.d/
sudo nano /etc/sudoers.d/01_jenkins
And then I add this line to it, save and close.
jenkins ALL= NOPASSWD: ALL
I then double check to ensure that my change worked by switching to the Jenkins user and running a command with sudo.
sudo su - jenkins
sudo ifconfig
I test sudo privileges using the ifconfig command because it requires root access to run, runs quickly, and does't hurt anything or take any real time to execute. If the change to the sudoers worked you should be able to execute the command without it prompting you for the password.
Create a Test Job in Jenkins
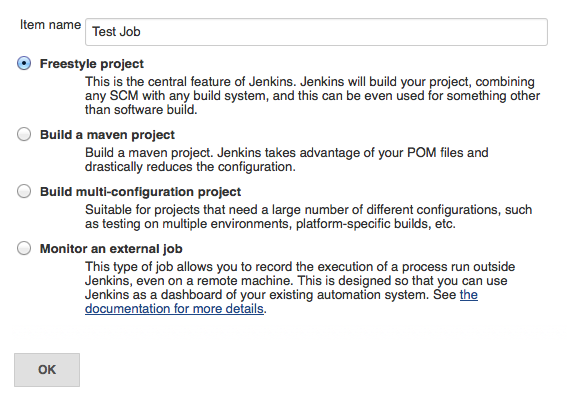
Now it's time to test the sudo privilege by creating a job to add a basic HTML file to the root www directory. Create a job by clicking "New Item" in Jenkins, give it a name and choose "Freestyle project". Click OK when you're ready.
After creating the job Jenkins will take you to the configuration screen for the job. Scroll down on the job configuration page and add a build step to execute a shell command. The shell command is simply going to add a html file to my apache root directory with a hello world message.

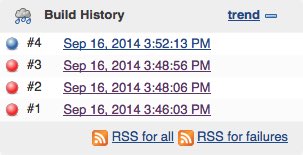
Save the build and run it by clicking "Build Now" on the left side of the screen and the build will be listed in the Build history section in a couple of seconds. Looking at my screenshot you can see that my job failed 3 times before I finally found the typo causing the error! The red marker indicates that the job failed while blue is a successful build.
Summary
This tutorial doesn't come even close to taking you through all the options of Jenkins, but should help you get an instance up and running at a good starting point. In the future I plan on writing a post covering some of the more complicated jobs I have setup that include pulling code from source control, running unit tests, and more.
Let me know in the comments if you have a different way to setup Jenkins or just have questions about why I set mine up the way I do.
 Mastodon